How to set-up Hike Pay with your existing Hike POS store.
Hike Pay is Hike
POS's fully integrated payment processing solution. With Hike Pay, you can
seamlessly accept a wide range of payment methods directly within your Hike
POS, including credit/debit cards and contactless payments like Tyro Tap to Pay and Apple Pay. It
provides a unified system for managing transactions, reporting, and deposits,
all designed to simplify your operations and speed up the checkout process for
your customers.
In this article, we will share a step-by-step guide on how to set up Hike Pay within your Hike store.
Prerequisites:
1. You must have an active Hike POS store (abc.hikeup.com)
2. Have your business and personal identification documents ready.
Step-by-Step Setup Guide
Step 1: Access the Payment Types Section.
Please navigate to Store set-up >> Payment Type page within your Hike account.
Please navigate to Store set-up >> Payment Type page within your Hike account.
You will see the option to 'Set up Hikepay to process card payments'
Click on GET STARTED.
A new page will open here where you will need to enter your information.
Step 2. Provide the requested details.
There are Four options here based on your business type. Please select the relevant option here and carefully enter the requested details.
1. Organizations.
This is for a Private corporation, a single-member Limited Liability Company (LLC), a multi-member LLC, and other types of registered businesses.
You will need to enter the Legal business name, Industry type, email address, phone number and website.
All these details here are mandatory. If you do not have a website, you can add a social media page or other relevant links.
2. Individual
This is for One person business or sole Proprietorship businesses.
On this page, you need to enter your First name, Last name, email address, phone number and website.
If you do not have a website, you can add a social media page or other relevant links.
The same process is required for other business types:
3. Sole Partnership and
4. Trust
Once you add all the details, on the next page, you will need to add your business address.
Please make sure you add your address and other personal/company details correctly so the approval process is smooth.
Double-check all the information you have entered for accuracy.
Click on Continue.
On the next page, you will need to select the location/Store details where you will be using the HikePay and the currency preference.
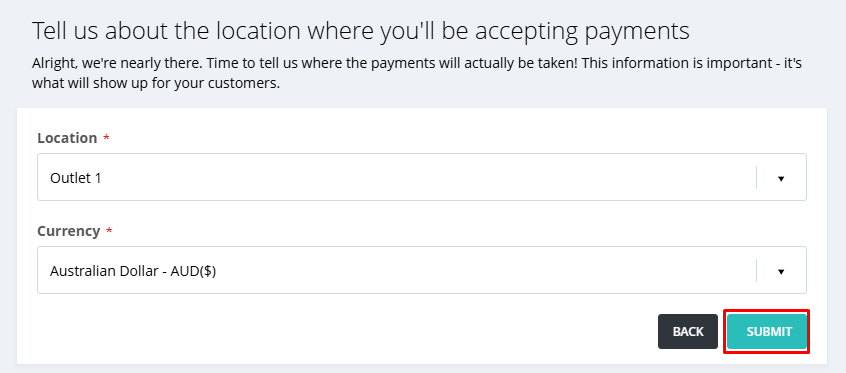
Click on Continue.
On the next page, you will need to select the location/Store details where you will be using the HikePay and the currency preference.
Submit your application.
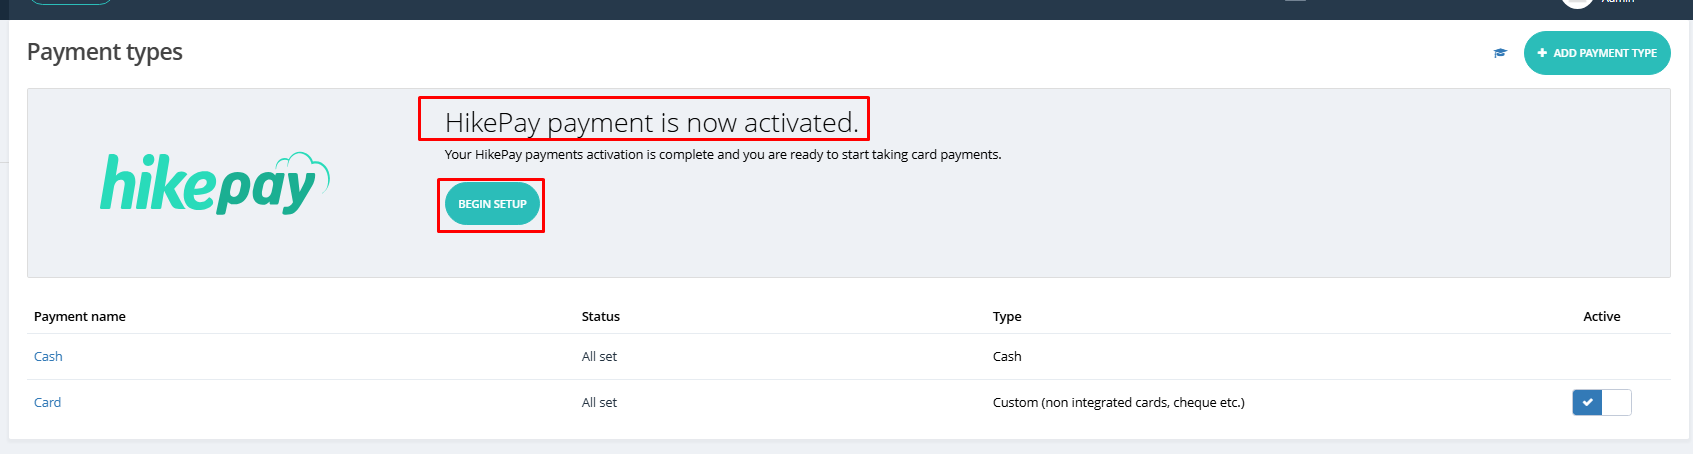
Once you click on Submit, you will see the following screen/Confirmation indicator on Payment Type.
The account manager will contact you to get the documents for your business for the KYC (Know Your Customer) process.
Once the documents are shared, it will take 2-5 business days to approve.
Once the details are approved, you will be ready to use HikePay within your store.
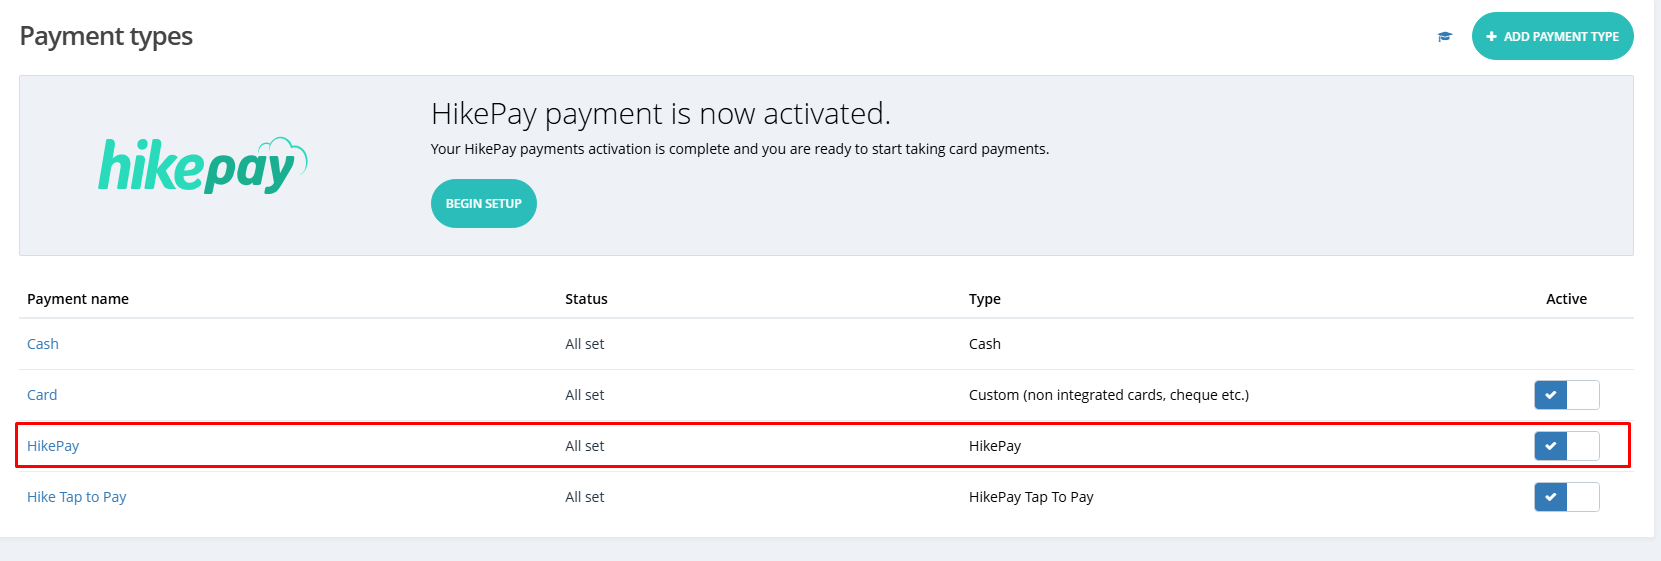
For the approved store, the payment page will indicate that the HikePay is now active for the store.
Click on Begin Set-up option to start the set-up process.
A new window will open after this which will give you two options.
1. External Payment device
2. Tap to Pay
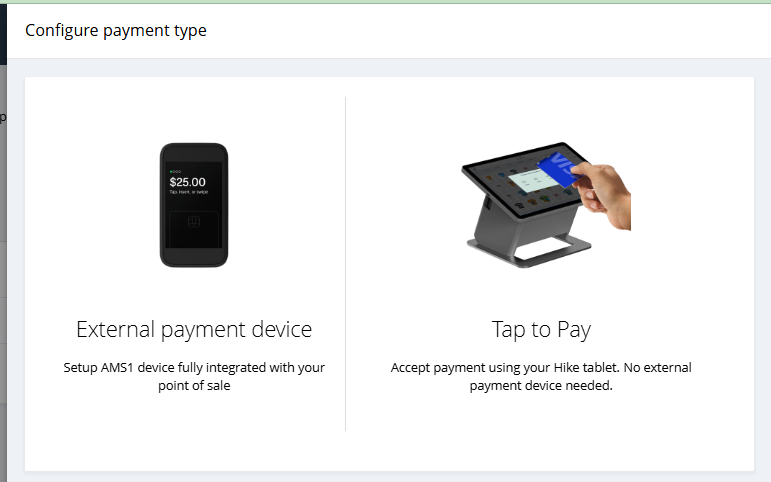
External Payment Device:
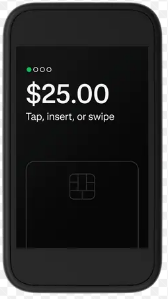
The external payment device we provide is the AMS1 model, which works with HikePay as a payment terminal for card swipe, tap to pay and insert.
Once the details are approved, you will be ready to use HikePay within your store.
For the approved store, the payment page will indicate that the HikePay is now active for the store.
Click on Begin Set-up option to start the set-up process.
A new window will open after this which will give you two options.
1. External Payment device
2. Tap to Pay
External Payment Device:
The external payment device we provide is the AMS1 model, which works with HikePay as a payment terminal for card swipe, tap to pay and insert.
When you select the External payment device option on the list, you will have an option to add the Serial number of the device.
Add the Serial Number (S/N) from the back of the device in the box above and click Connect.
Once you add the Serial number from your device here and click on Connect, you will have the details of the device listed and confirmation for the connection.
Payment Name: Add the name of the payment you wish to display on the POS page.
Display order: Display order of the payment on the POS page.
Surcharge: Any surcharge you wish to add to the payment type? If yes, please select the % from the list provided.
Display surcharge warning pop-up on every sale?: If surcharge is enabled, selecting this option will give you a pop-up for surcharge on each sale.
Allow surcharge to be refunded: IF you wish the surcharge to be refunded, please select this option.
Select the Outlet and register where you wish to activate the Hike Pay device for payment.
Select Highlight Colour: Please select a specific color if you wish to display the Hikepay with this colour on the POS page.
When you select the data and click on Add & Continue, the configuration is completed and you will be able to see Hike Pay listed on your Payment list.
.The Hike Pay option will be available on the POS sales page when you make a payment for the sale.
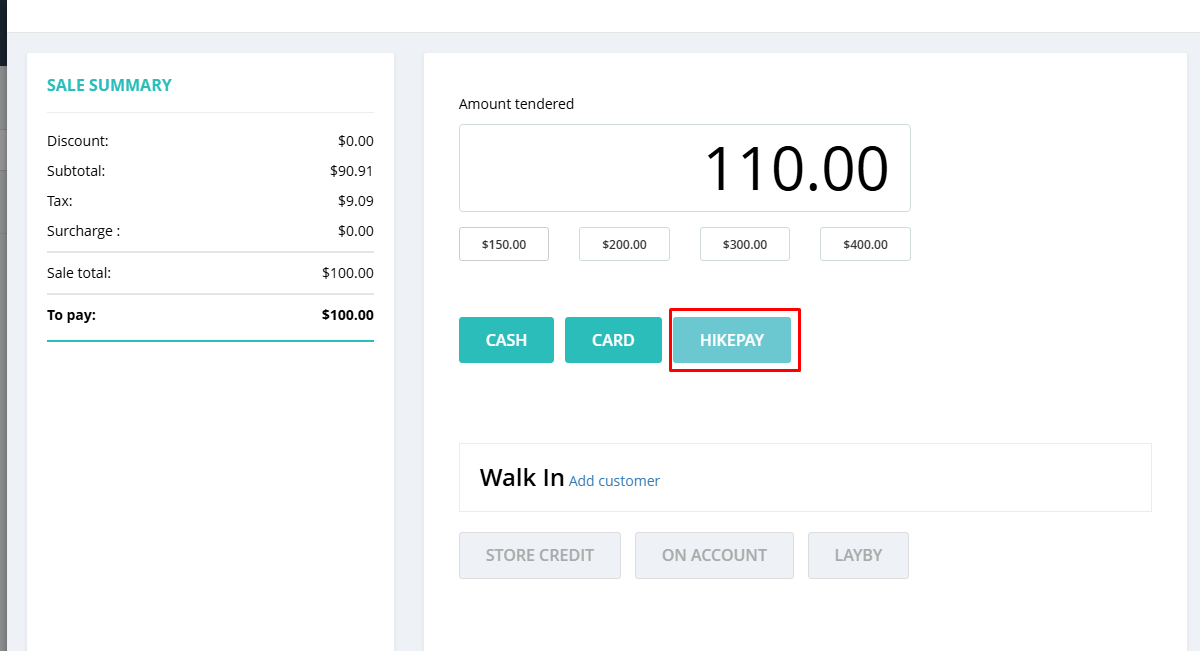
The customers can Tap, Insert, or Swipe their card in the device to pay for the sale.
Once the payment is completed, the sale within Hike will be auto-updated and completed.
The customers can Tap, Insert, or Swipe their card in the device to pay for the sale.
Once the payment is completed, the sale within Hike will be auto-updated and completed.
Related Articles
Hike Pay AMS1 Terminal : Complete Guide to Setting Up Your Hike Pay smart terminal
This guide is designed to help you set up your new Hike Pay AMS1 payment terminal quickly and confidently. Whether you're unboxing for the first time or reconnecting a device after a break, these step-by-step instructions will walk you through ...How to configure Hike with Afterpay Barcode/QR
The Afterpay integration is supported on PC, Mac, iPad and Android tablets and is required for Afterpay's barcode/QR solution. This integration is supported in Australia and New Zealand. The instructions below is suitable for PC and Mac users. ...Introduction to Hike ecommerce
Hike eCommerce: Your All-in-One Online Store Add-On for Hike POS Welcome to the future of unified retail! This help article will guide you through everything you need to know about Hike eCommerce, the powerful online store add-on that seamlessly ...Creating Receipt Templates in Hike
Handing your customers receipts after a sale is a required step for any business, not just in the sense of customer satisfaction – which it provides – but also in instances to protect the retailer. This can be most commonly identified through ...Hike Payment Reporting and Settings
Hike Payments Reports and Settings This article explains how to access Hike Pay reports and manage Hike Pay settings in Hike POS. These tools help you track payments, reconcile transactions, and control how Hike Pay operates in your store. What is ...