Hike offers built-in integration with Unleashed. By activating this integration, your business will have a seamless data-sync connection between your point of sale software and inventory management software. By pairing Hike with Unleashed, you can forgo laborious manual data entry, with precise accuracy of your data, that goes directly from Hike to your Unleashed account.
Please note, the Unleashed integration is only supported when you are using the one-store/Hike Plus or higher plans. Also, due to API limitations, you will need to manually sync data changes if the change is made in Unleashed.
As part of this integration, the following records sync will be activated for you:
- Products and inventory (stock adjustment in unleashed needs force sync to sync through to Hike)
- Customer profiles
- Sales transaction records with payments & discount details
- Supplier profiles (only from Unleashed to Hike due to API limitations)
- Purchase orders (only when the purchase order has been closed)
- Product images will be synced from Unleased to Hike.
NOTE: The product images will be synced from Unleashed to Hike only. Due to API limitations product image will not be synced from Hike to Unleased. Also, if any product image gets deleted from Unleashed, it will not be deleted from Hike, you will need to delete the product image manually from Hike.
Note: Hike lets you connect with multiple Unleashed accounts or one account with different warehouses. This will be very useful if you have multiple outlets set up in Hike. You can customize the settings to meet your requirements.
Important notes before you begin
1. We strongly recommend you tidy your existing data (products, stock, suppliers etc.) and remove any unnecessary data before you activate the integration. This will help improve the speed of sync process, and save you from fixing data in multiple locations in the future, which usually takes a longer time.
2. Please make sure you have the same tax rules in Hike and Unleashed. Regarding how to manage the tax rules in Hike, please refer to Creating Tax Rules in Hike. In Unleashed, please navigate to Settings > System > Taxes.
3. Before you start the integration, we strongly recommend you to back up your data both in Hike and Unleashed. In Hike, you can back up products, customers and suppliers by clicking on the EXPORT button on the pages of product list (Products > Products), customer list (Customers > Customers) and supplier list (Inventory > Suppliers). Regarding how to back up the data in Unleashed, please contact the Unleashed support team for details.
Let’s start setting up the Unleashed integration
You’ll set the integration in 2 main steps. Before you started, please get your Hike and Unleashed accounts ready.
- Activate Hike & Unleashed connection
- Apply sync settings
Activate Hike & Unleashed connection
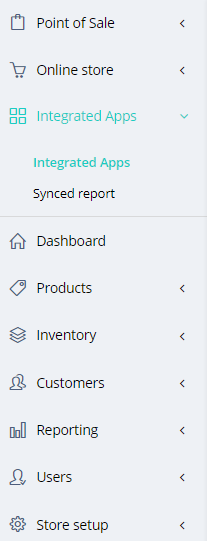
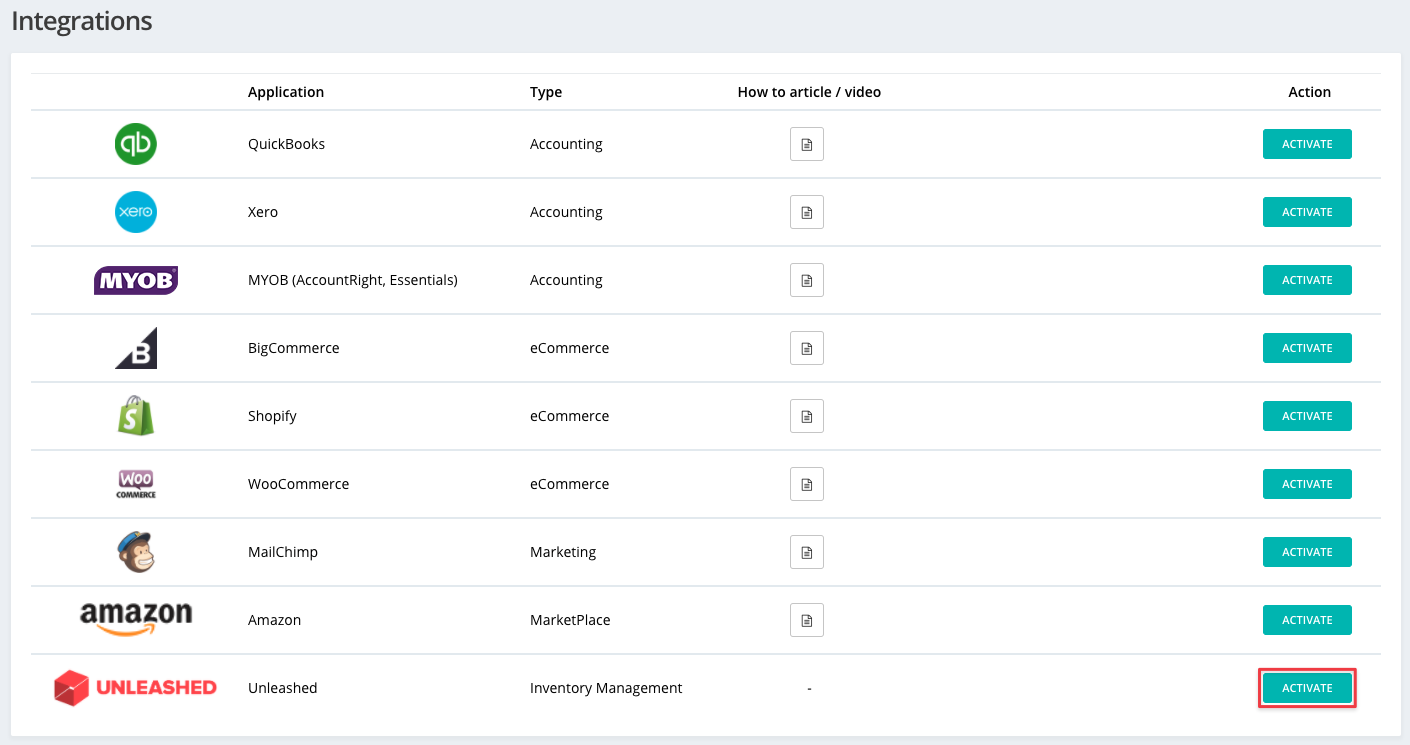
1. In Hike, open the Menu tab, and click on Integrated Apps >> Integrated Apps.
2. From there you will find a list of applications to which Hike connects to. Integrate your Unleashed account, by clicking on ACTIVATE to the right of the Unleashed icon.
3. A window will slide out for you to enter the Unleashed API details, which can be found on the Unleashed API Access page, which is under Integration > Unleashed API Access in Unleashed. In case you can't access your API details in Unleashed, please contact the Unleashed support team for help. Enter the details and click on SAVE to activate the integration.
Now it's time to set up your Unleashed integration settings
Once your API details have been verified, you will see the page to customise the settings of your Unleashed integration. This is where we’ll define how the integration works. Please note: all the fields with asterisks are mandatory fields. You will not be able to save the settings and continue unless you have finished the mandatory settings.
In future, you can revisit the settings by clicking on the MANAGE button as shown in the screen below.
PRIMARY SETTINGS
You will need to choose the outlet, register and enter the product code for custom sale in this section.
Default outlet
This is where you define your default outlet. The outlet will be where you record the sales, inventory and purchase orders by default. Please note, you can choose one default outlet for one Unleashed account only. If you want to map multiple outlets in Hike with multiple warehouses in Unleashed in regards to inventory, please refer to the instructions below in the section of inventory settings.
Hike register for payment
In Hike, payments are recorded under registers. You will need to choose a register in Hike to track the payments when they sync from Unleashed to Hike. Checking this box will bring up a drop-down box of all the registers in your default outlet.
From now onwards, when you close the cash register at the end of the day/shift, it will also include the Unleashed payment in the daily receipt summary. You can revisit this summary at any point in time to verify payments against the report in Unleashed.
We strongly recommend you to set a dedicated cash register for your Unleashed sales to give you greater transparency on Unleashed sales transactions and payments. It will also help to manage your register report because any sale sync from Unleashed to Hike after you close your register will re-open the register which integrated with Unleashed. Please check
How to create outlets and registers, there might be an additional charge based on which subscription plan you have, please check the
Hike plan price before doing any change.
Hike invoice custom line/tip/surcharge map with unleashed product code
To sync
custom sale, and tips/surcharge in sales from Hike to Unleashed, you will need to create 2 products in Unleashed to record the amount. After creating the product in Unleashed, please enter its product code here. Please note, these particular products in Unleashed have to be the non-inventory products, also known as never diminishing products. Also, they have to be active.
The products for custom sales and tips will sync to Hike when we sync products from Unleashed to Hike. You can disable the 2 products in Hike if you want to avoid selling them in Hike by mistake.
COMMON CUSTOMER NAME FOR WALK-IN SALES
Select a common customer name for walk-in sales. The default email will be the account owner's. You can change it if necessary. After you complete the integration settings, a new customer will be created in Unleashed with the name and the email, and all walk-in sales will sync to Unleashed under this customer profile. Even though you won’t receive customer information to engage with them further if a generic name is used, you can still identify shopping trends, for all your walk-in customers.
INVENTORY SETTINGS
You can choose to map Hike outlets with Unleashed warehouses one to one or combine the inventory of multiple outlets to one Unleashed warehouse.
Map Hike outlets and Unleashed warehouses
Select the outlet/physical inventory location your Unleashed warehouse will draw inventory from.
Merge multiple outlets to a single location
Select the outlet/s in Hike where you would draw the inventory, and map with a single location in Unleashed. When this option is chosen, the order synced from Unleashed to Hike will deduct the product inventory from the default outlet.
As explained in the notes, if you choose this option, we do recommend you to use Hike as the point of truth in regards to inventory.
TAX MAPPING
Here on the left are all the tax options available in Hike. Use the drop-down menus on the right to map corresponding sales and purchase tax codes in Unleashed.
To update/change tax rates in Hike, go to Store Setup > Tax Rules.
To update/change tax rates in Unleashed, go to Settings > System > Taxes.
SYNC SETTINGS
This is where you’ll select how your data is synced, and managed between Hike and Unleashed.
Five types of data that can be synced: Customers, Products & Inventory, Sales, Suppliers and Purchase orders. Please note, due to API limitation, suppliers can sync from Unleashed to Hike only, and only completed purchase orders can sync to unleashed.
2-way
Selecting this option will allow you to sync your data to and from Hike and Unleashed.
Hike -> Unleashed
Select this option if you want your data to be ONLY sent from Hike to Unleashed. For example, by selecting Hike -> Unleashed for Products & Inventory, all your Products & Inventory data WILL be shared from Hike to Unleashed, but NOT the other way around.
Unleashed -> Hike
Select this option if you want your data to be ONLY sent from Unleashed to Hike. For example, by selecting Unleashed -> Hike for Sales, all your invoices WILL be shared from Unleashed to Hike but NOT the other way around.
Continue
Once you’ve completed all the necessary steps, it’s time to save and start syncing. Click on the Continue button either at the top or bottom of the page, to go on. If the Continue button is greyed out, it suggests you haven't finished all the mandatory fields.
First-time Sync
If this is your first time syncing or if you’ve made any significant changes to your sync settings, you will be prompted with this screen.
If you’ve selected 2-way sync, you will need to confirm which platform is the primary source, which will then overwrite the data in the other in the case of duplicate records for the first-time sync. For example, we’ve previously selected Customers as 2-way sync. Now you will need to advise which app will overwrite the other if a customer with the same customer code exists in both apps.
Hike -> Unleashed: Selecting this option will make Hike the primary source.
Unleashed -> Hike: Selecting this option will make Unleashed the point of truth.
Sync Past Transactions
Specify from which date you would like your existing sales records to start syncing to or from Hike.
Please note: we don't recommend syncing pre-integration sales to or from Hike as it may cause inventory discrepancy. Please perform a stocktake on the destination platform after the sync process is completed.